I recently took the plunge and migrated my Bitwarden account from the United States (bitwarden.com) to the European Union (bitwarden.eu). As a privacy-conscious user, I wanted to take advantage of the data residency benefits and ensure my passwords were being stored and managed in accordance with EU regulations.
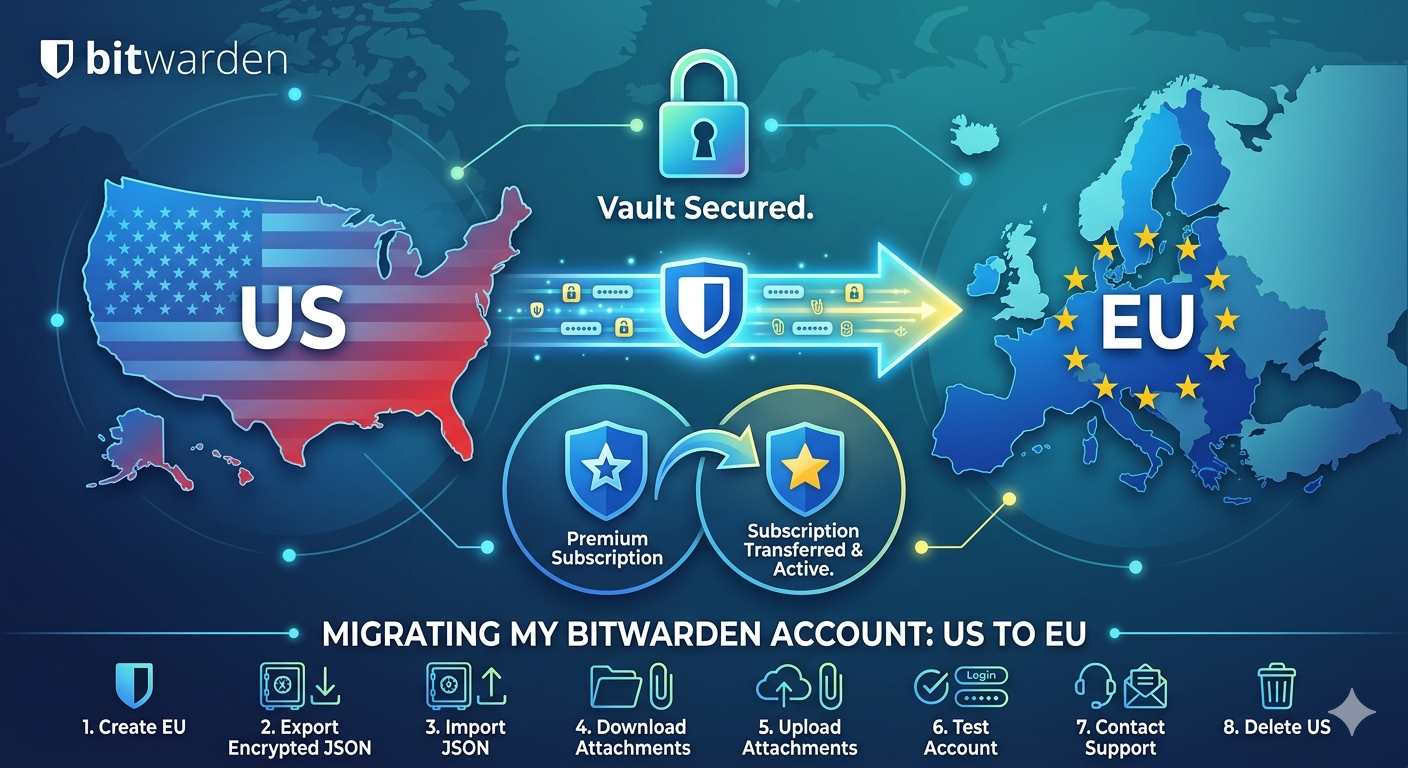
But I also wanted to make sure my hard-earned Premium features came with me! Here’s my step-by-step guide to a successful Bitwarden US to EU migration, including subscription transfer:
Create Your New EU Account
Head over to bitwarden.eu and sign up for a new account. Keep in mind you’ll need a new email address or an alias for this step.
The Big Vault Export
Log in to your existing US Bitwarden account (web vault or desktop app).
Navigate to Settings > Export Vault.
Choose Encrypted JSON as your export format. This is crucial as it keeps your vault data encrypted even while it’s downloaded.
Select a strong, memorable master password for this backup and securely store it! This is vital for importing your data.
Click Export Vault and save the resulting JSON file safely on your computer.
Importing the Vault
Now, log in to your freshly created EU Bitwarden account.
Go to Settings > Import Data.
Select Bitwarden (Encrypted JSON) as your import format.
Select the JSON file you downloaded earlier.
Enter the master password you used to encrypt the backup.
Click Import Data.
Tackling the Attachments
This is a critical step that often gets overlooked! Your encrypted JSON export does not include any attachments you have saved in your vault entries.
You’ll need to manually download each attachment from your original US account. Go through your vault entries, check for attachments, and download them to a local folder.
Re-attaching to the EU Account
Go through each vault entry in your new EU account that had an attachment.
Click Edit.
Click on Attachment and upload the corresponding file from your local folder.
Save the entry. Yes, it’s a bit tedious, but it ensures you don’t lose any valuable documents!
The Probe: Make Sure Everything is Working!
Create a new test entry in your EU account, maybe for a dummy website or service.
Make sure you can log in, edit, and use the new entry as expected.
Test autofill functionality on a few websites using your new account.
Transferring Your Premium Subscription!
Once you’ve verified your vault data and attachments are safe and sound in your EU account, it’s time to bring over your Premium subscription.
Do not delete your US account yet!
Reach out to the Bitwarden Support team. You can find their contact information on the Bitwarden website.
Politely explain that you have created a new account in the EU and would like to transfer your existing Premium subscription from your US account. Provide the email addresses for both accounts and any order numbers if you have them handy.
Patience, Then Freedom!
Bitwarden support is usually very helpful and responsive. After a short period of time (typically 1-2 business days), I received a confirmation that my subscription had been successfully transferred to my EU account.
Once you receive this confirmation, log in to your EU account and verify that you have all your Premium features active (like file attachments, health reports, advanced two-factor authentication).
Saying Goodbye (to the US Account)
Once you’ve confirmed your EU account is working perfectly, that you have all your vault data, attachments, and your Premium subscription, you can safely delete your original US account.
Go to Settings > Deauthorize Sessions and then Settings > Delete Account.
The Result: Privacy, Security, and Peace of Mind!
Info: However, the US CLOUD Act may still technically apply because Bitwarden is a US company, though the zero-knowledge architecture ensures that even if data is accessed, the encrypted vault contents remain unreadable without the user’s master password.
The entire process was smoother than I anticipated. The key is to be organized, follow the steps carefully, and remember to transfer those attachments manually! Now I have the peace of mind knowing my data is residing in the EU, and I still have all the Premium features that make Bitwarden such a fantastic password manager.
Happy migrating! Let me know in the comments if you have any questions.